Quickstart Guide
Get started with 88Agents in just a few minutes. This guide walks you through the sign-up and onboarding process to set up your first workspace.
Prerequisites
Before you begin, you'll need:
- A valid email address
- A few minutes to complete the onboarding process
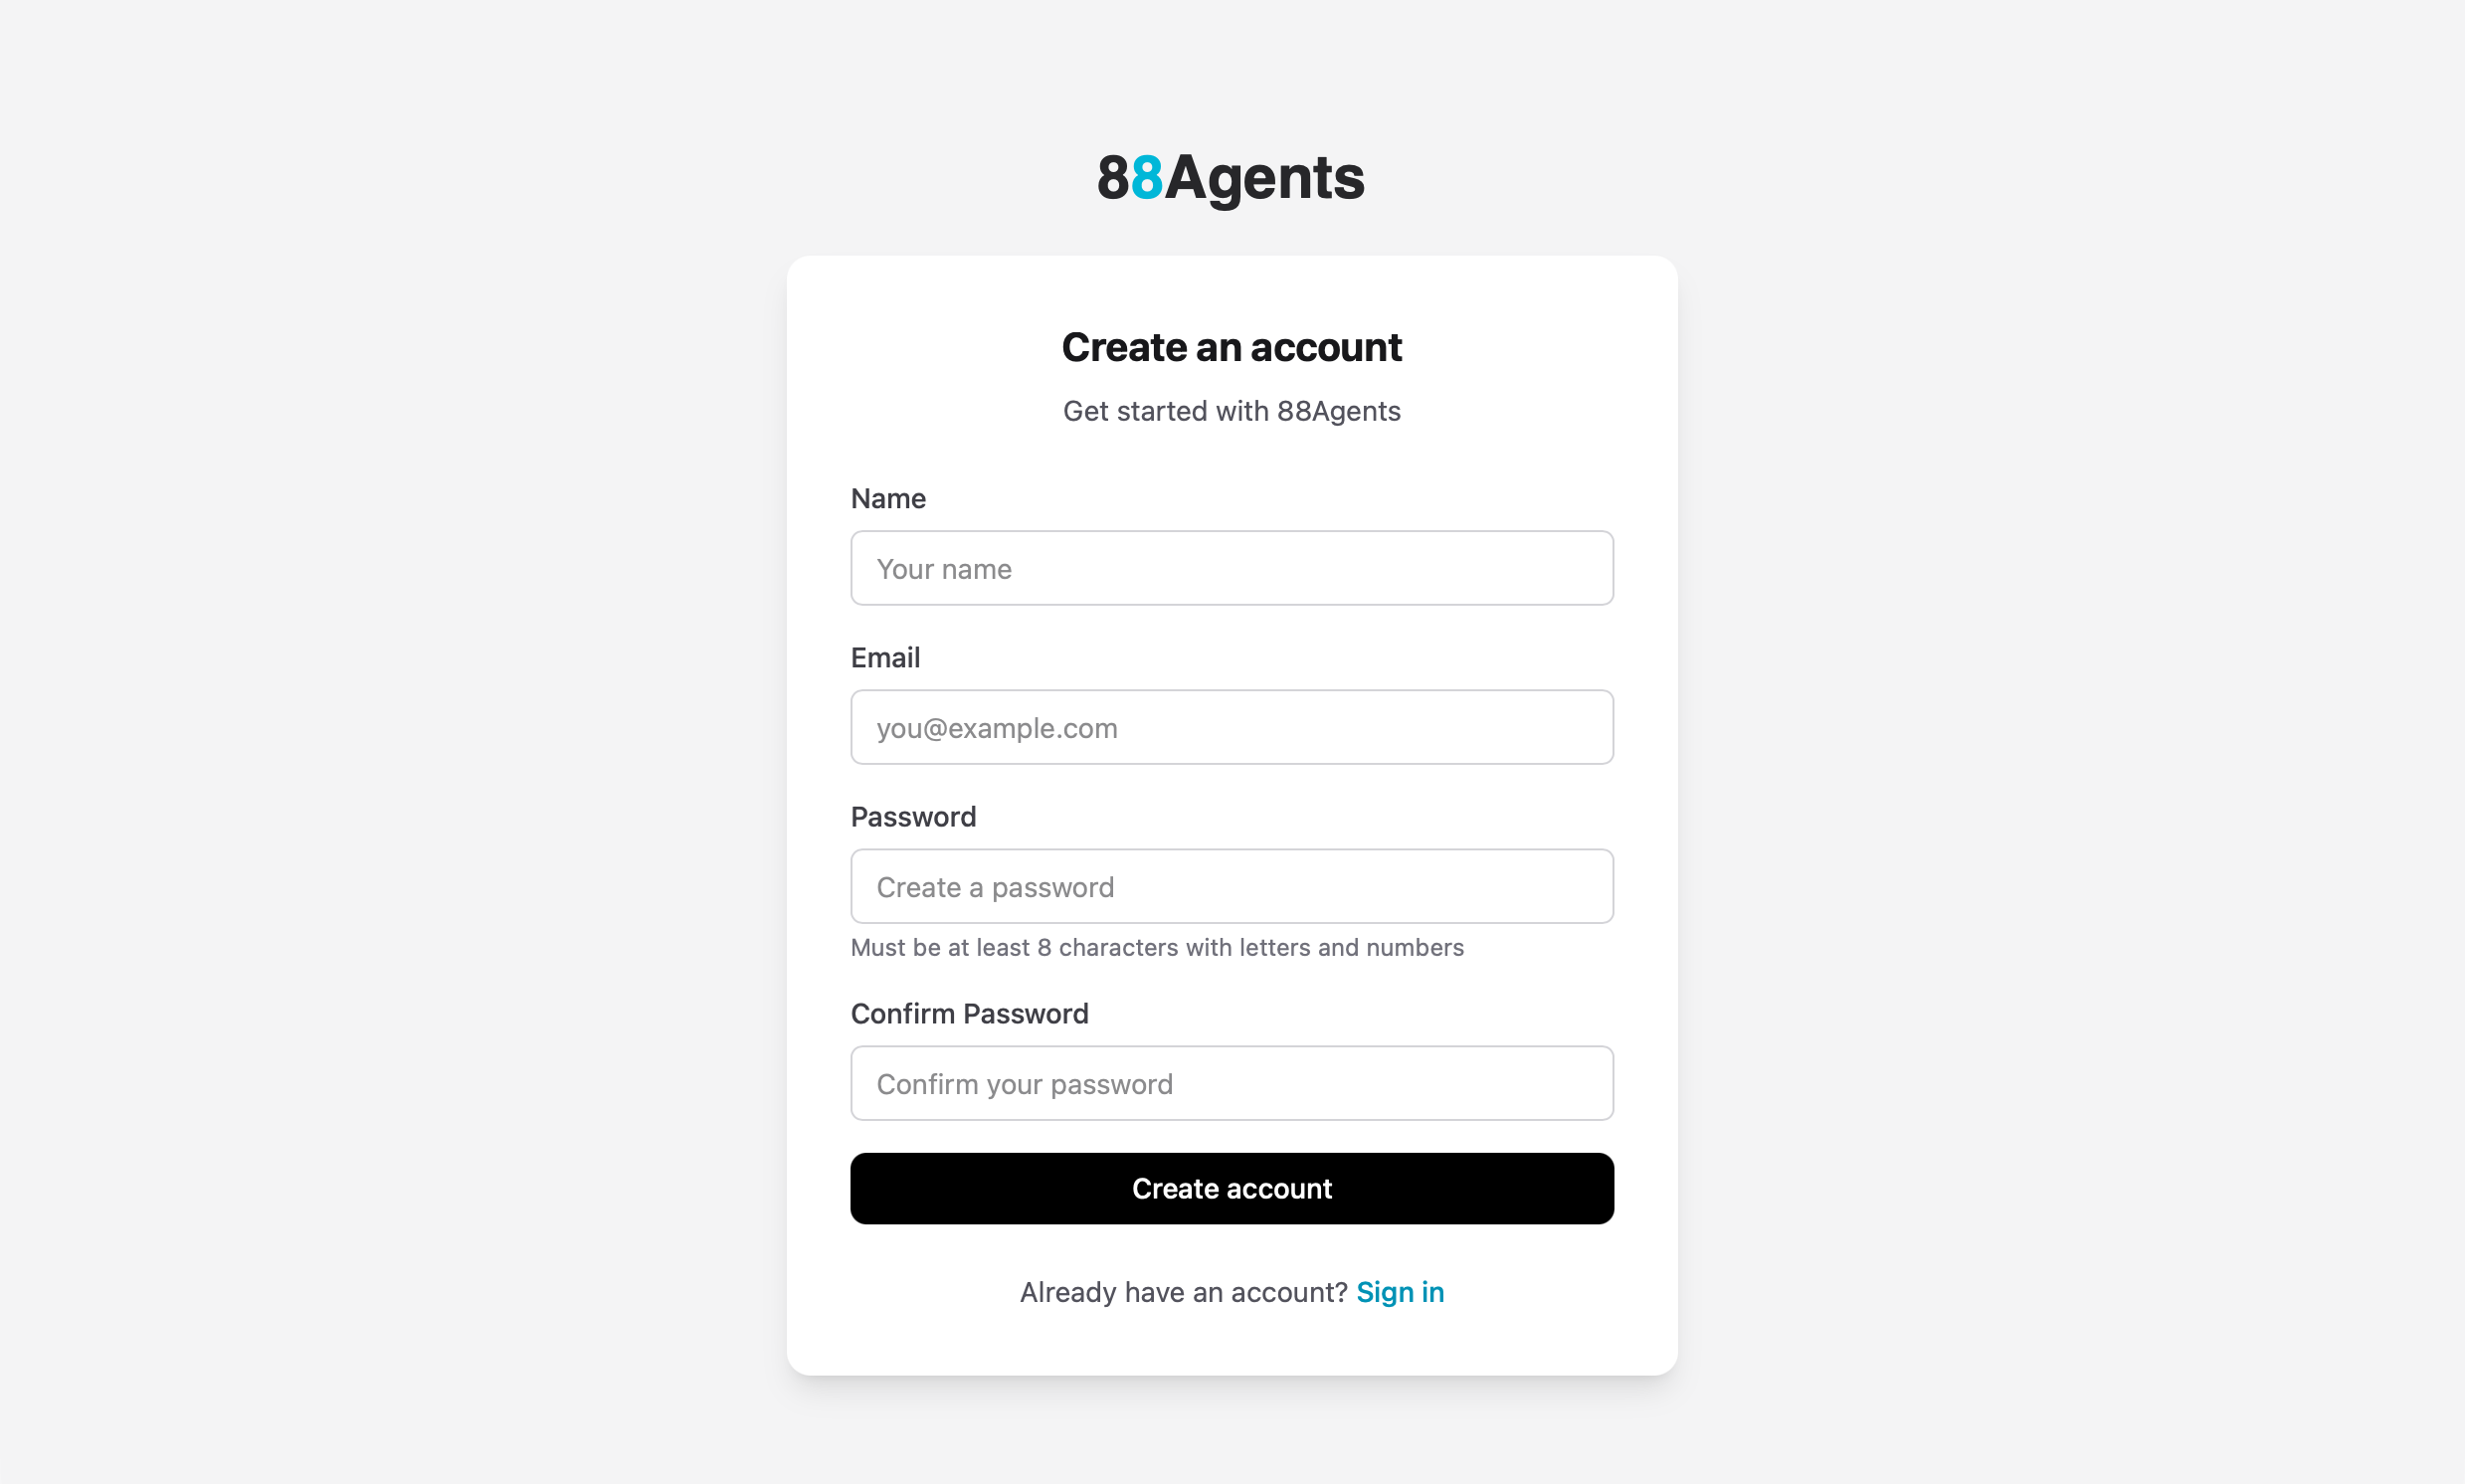
Step 1: Sign Up
Create your 88Agents account to get started.
- Navigate to the 88Agents app
- Click Sign up if you don't have an account
- Fill in your details:
- Name — Your full name
- Email — Your work or personal email
- Password — Must be at least 8 characters with letters and numbers
- Confirm Password — Re-enter your password
- Click Create account
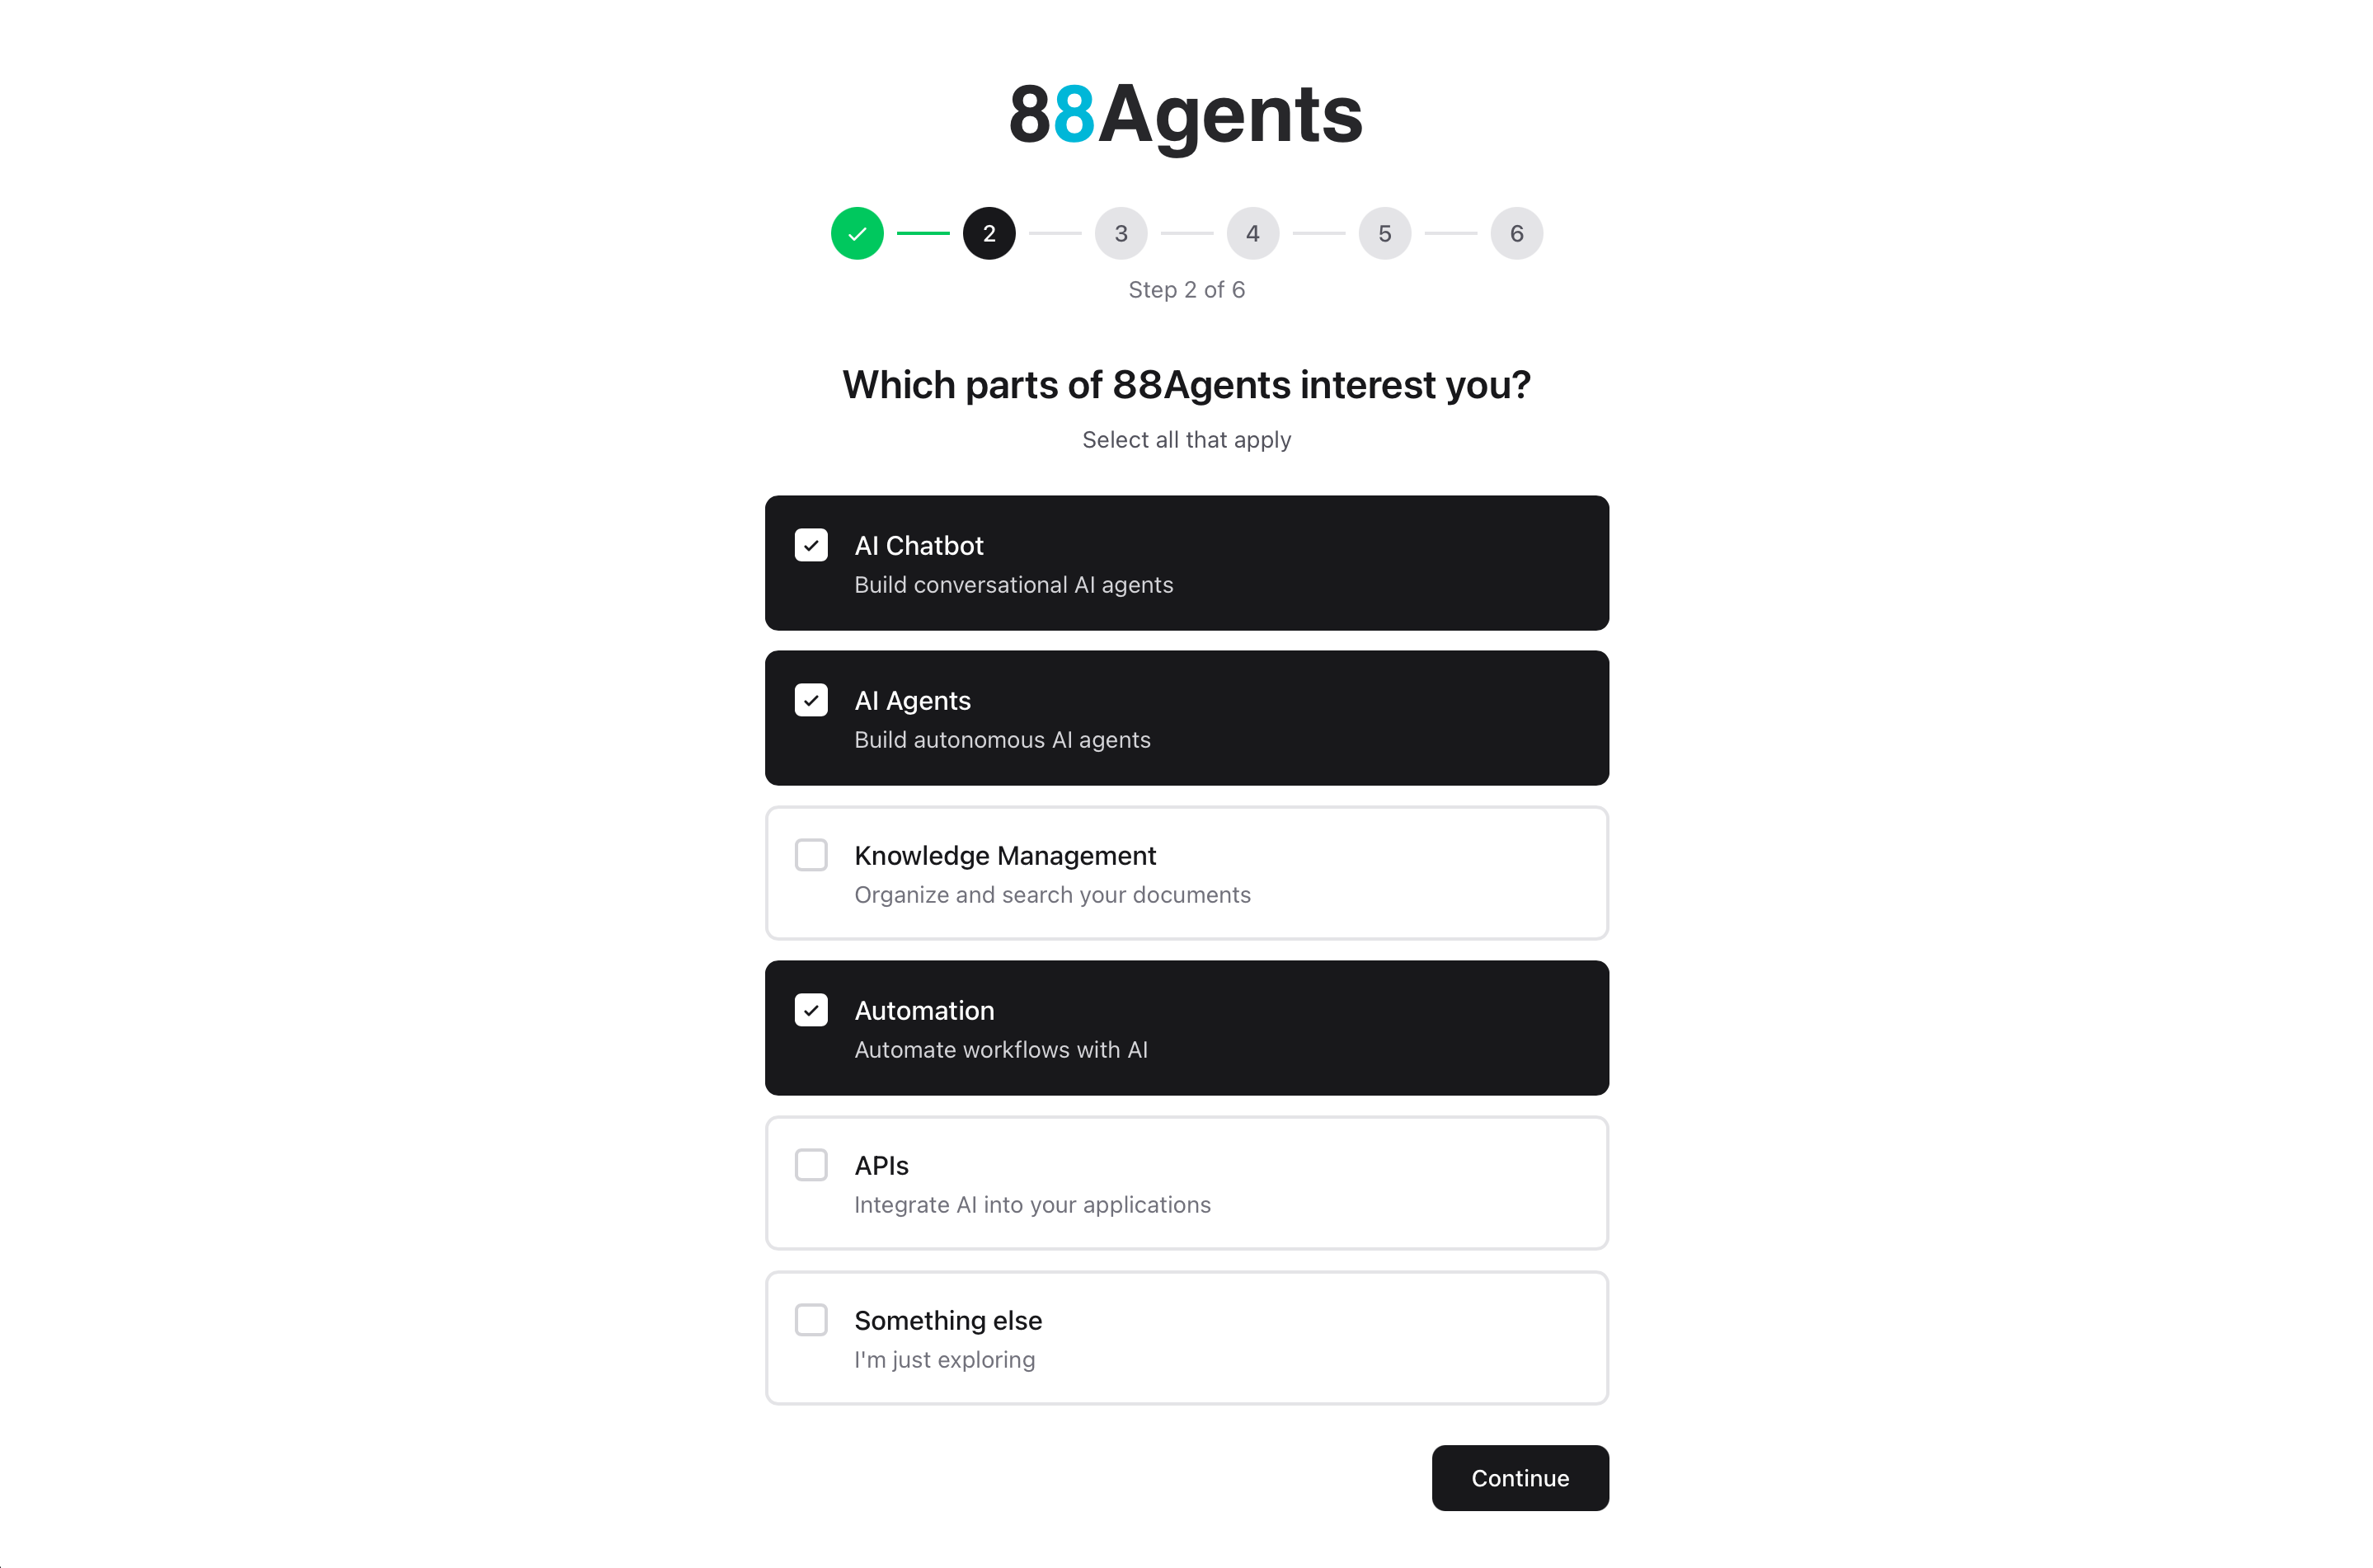
Step 2: Select Features
Tell us which parts of 88Agents you'll be using. This helps us customize your experience.
- Select all features that interest you:
- AI Chatbot — Build conversational AI agents
- Knowledge Management — Organize and search your documents
- Automation — Automate workflows with AI
- APIs — Integrate AI into your applications
- Something else — Just exploring
- Click Continue
Tip
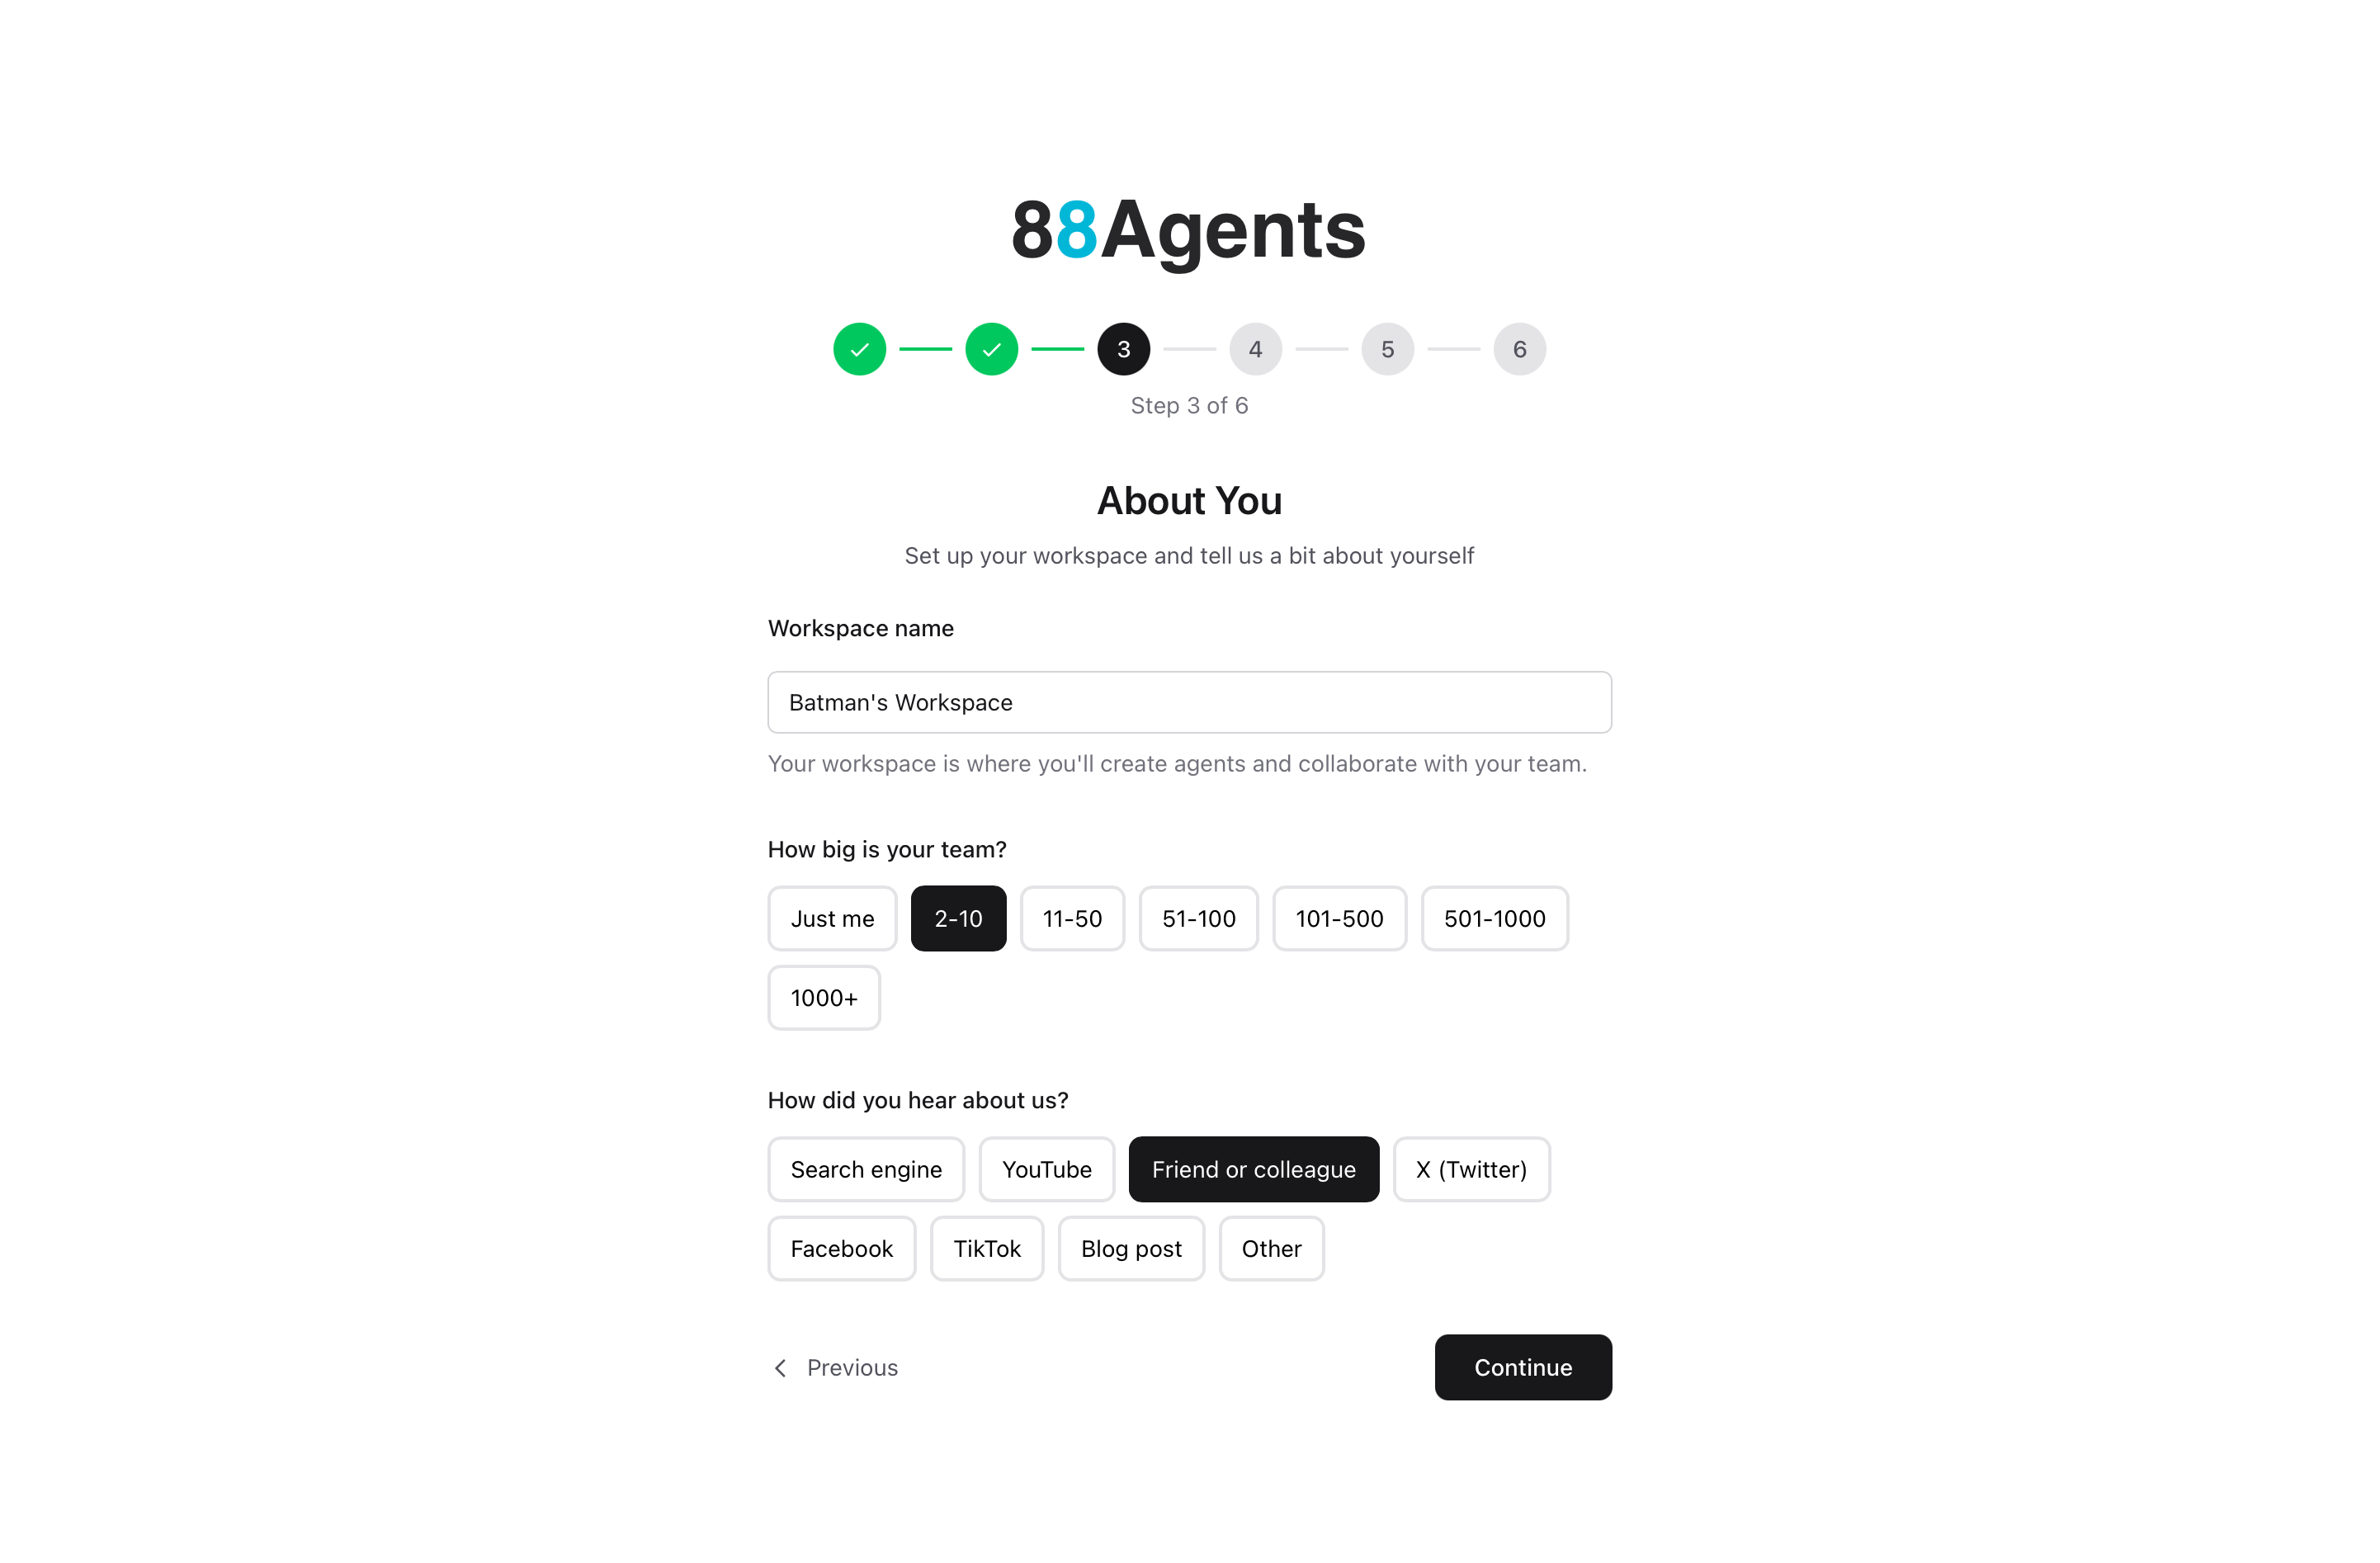
Step 3: Setup Your Workspace
Configure your workspace settings and tell us about your team.
- Workspace name — A default name is provided (e.g., "Your Name's Workspace"), but you can change it to match your company or project
- Team size — Select your team size:
- Just me
- 2-10
- 11-50
- 51-100
- 101-500
- 501-1000
- 1000+
- How did you hear about us? — Select one:
- Search engine
- YouTube
- Friend or colleague
- X (Twitter)
- TikTok
- Blog post
- Other
- Click Continue
Note
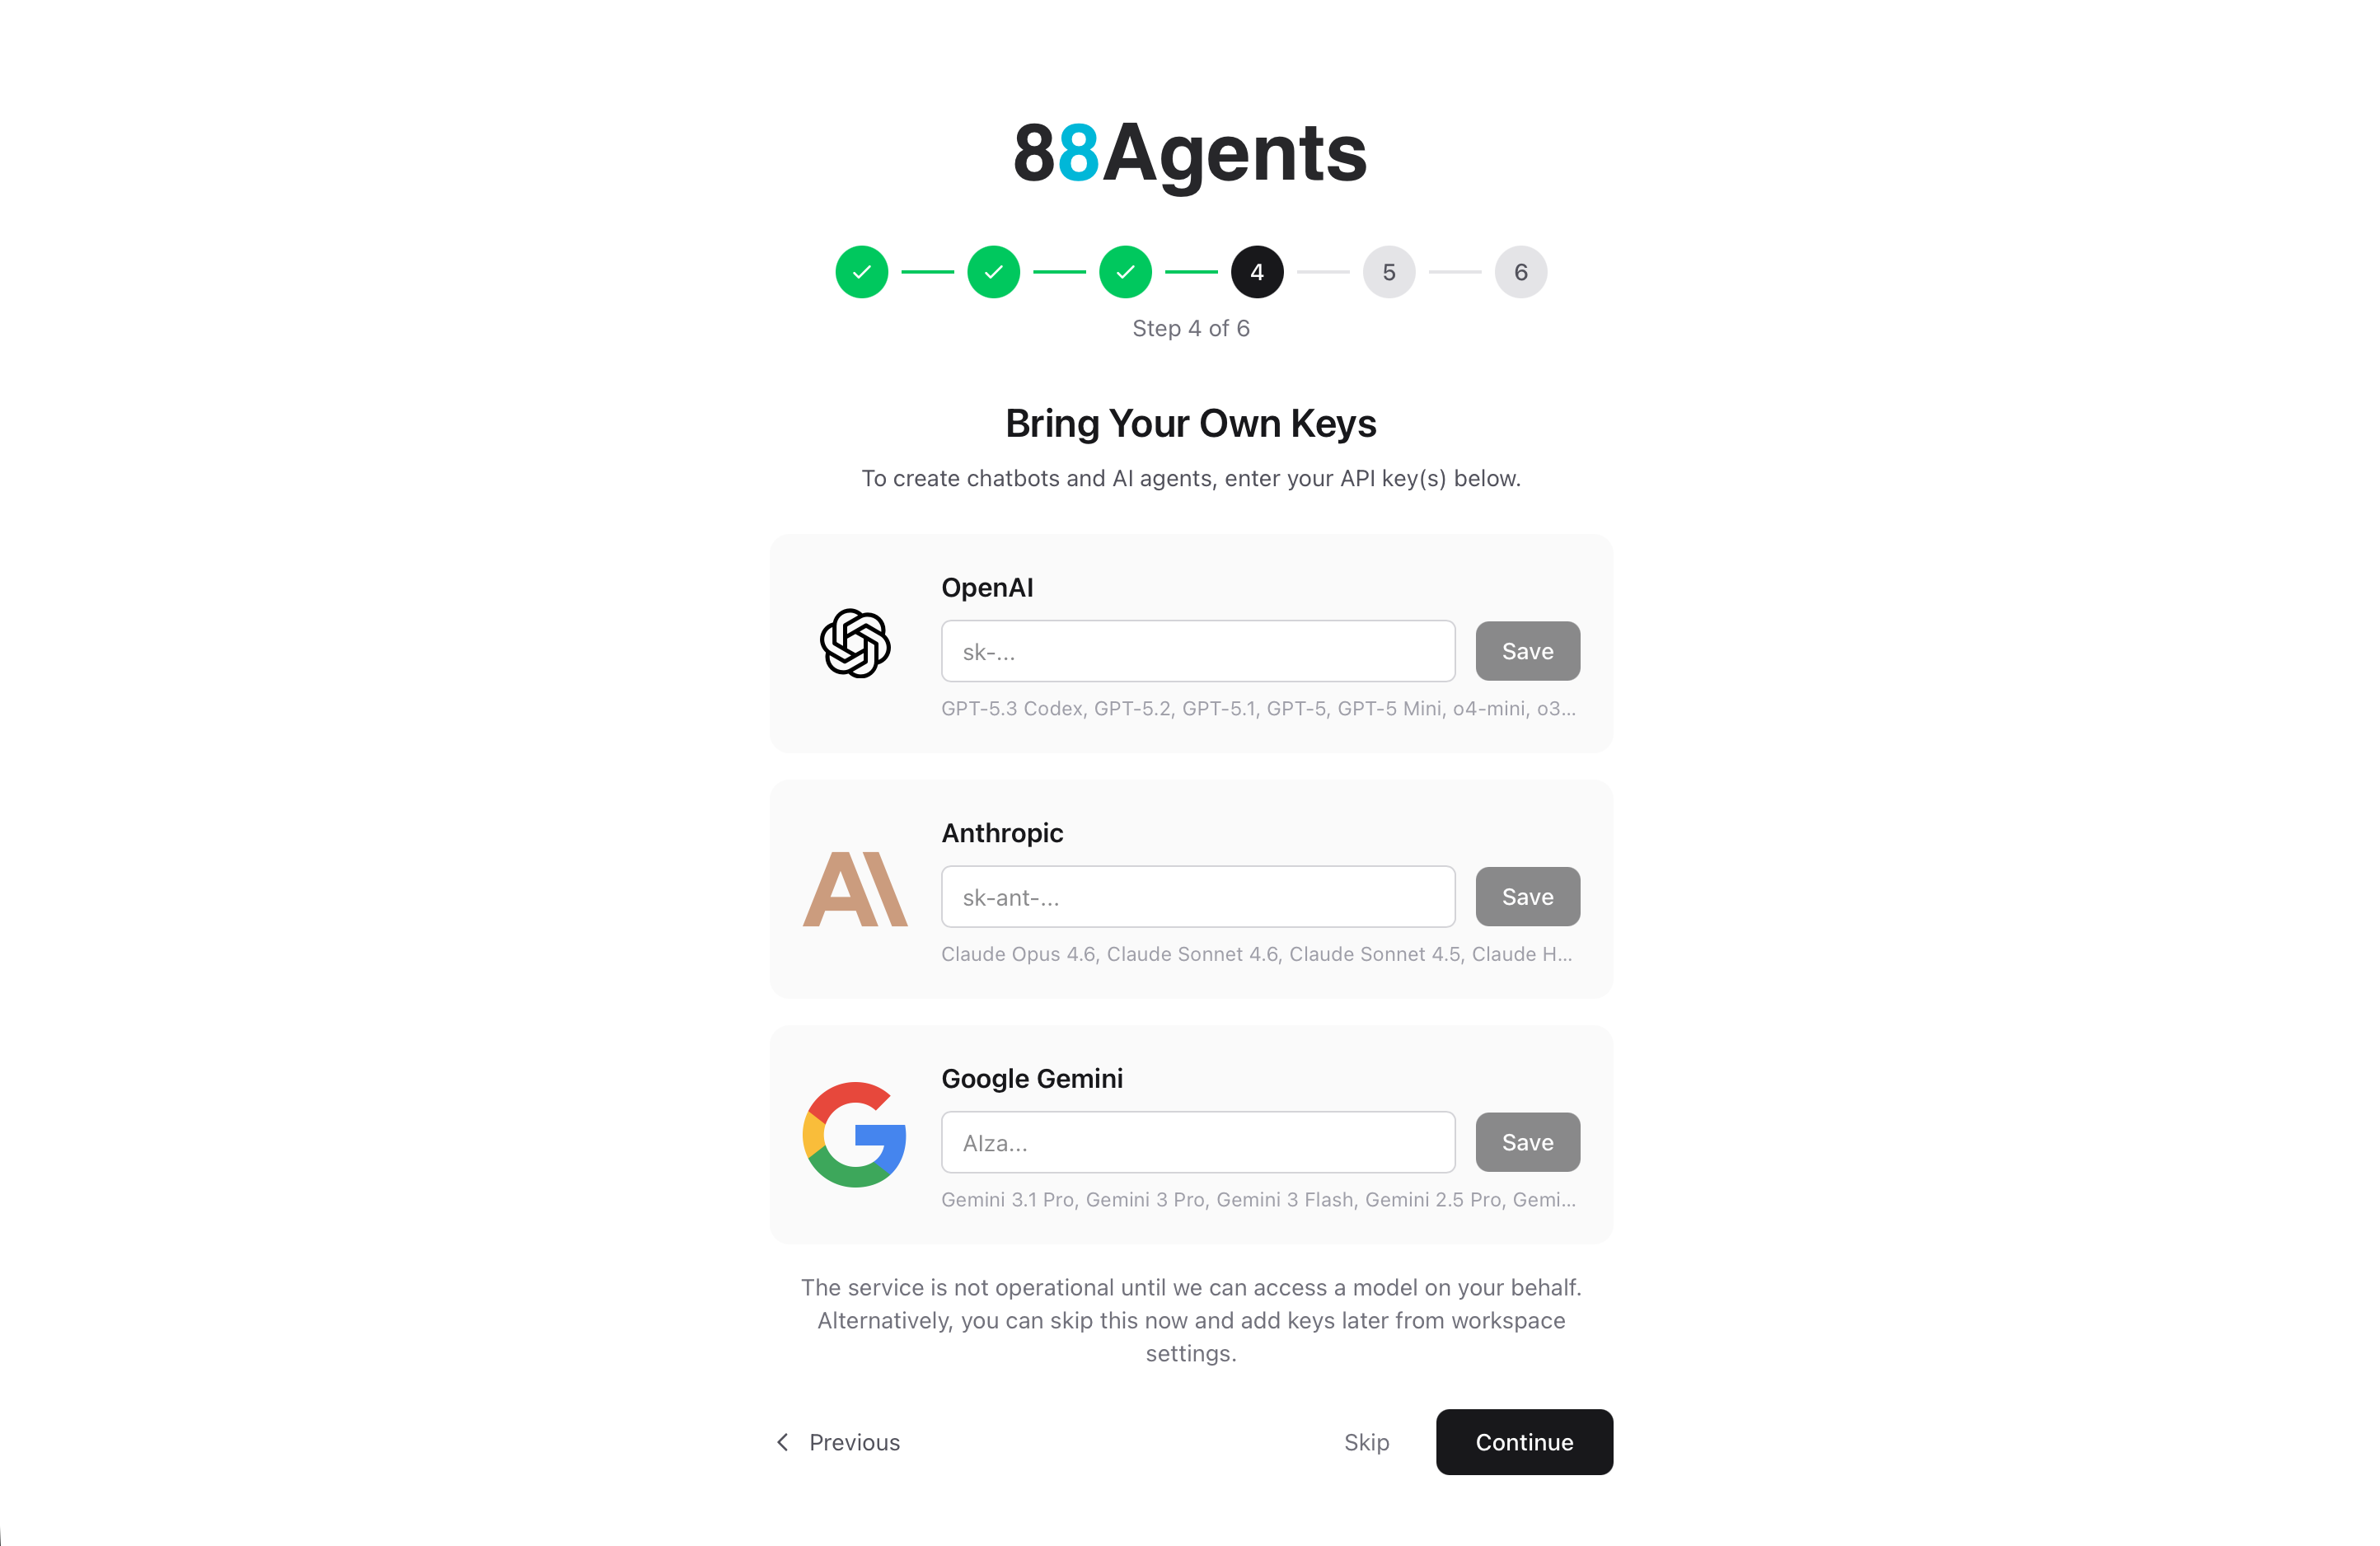
Step 4: Bring Your Own Keys
Enter your API keys for the AI providers you want to use. You need at least one key to create agents.
We support OpenAI's GPT models, Anthropic's Claude models, and Google's Gemini models.
- Paste your API key for each provider you want to use
- Click Save next to each key
- Click Continue, or click Skip to add keys later from workspace settings
Note
Step 5: Choose a Plan
Select a pricing plan that fits your needs. Start with a 7-day free trial — cancel anytime.
- Toggle between Monthly or Annual billing
- Click Select Plan on your chosen tier, or
- Click Continue with Free Plan instead to explore without entering payment details

Tip
Step 6: Get Started
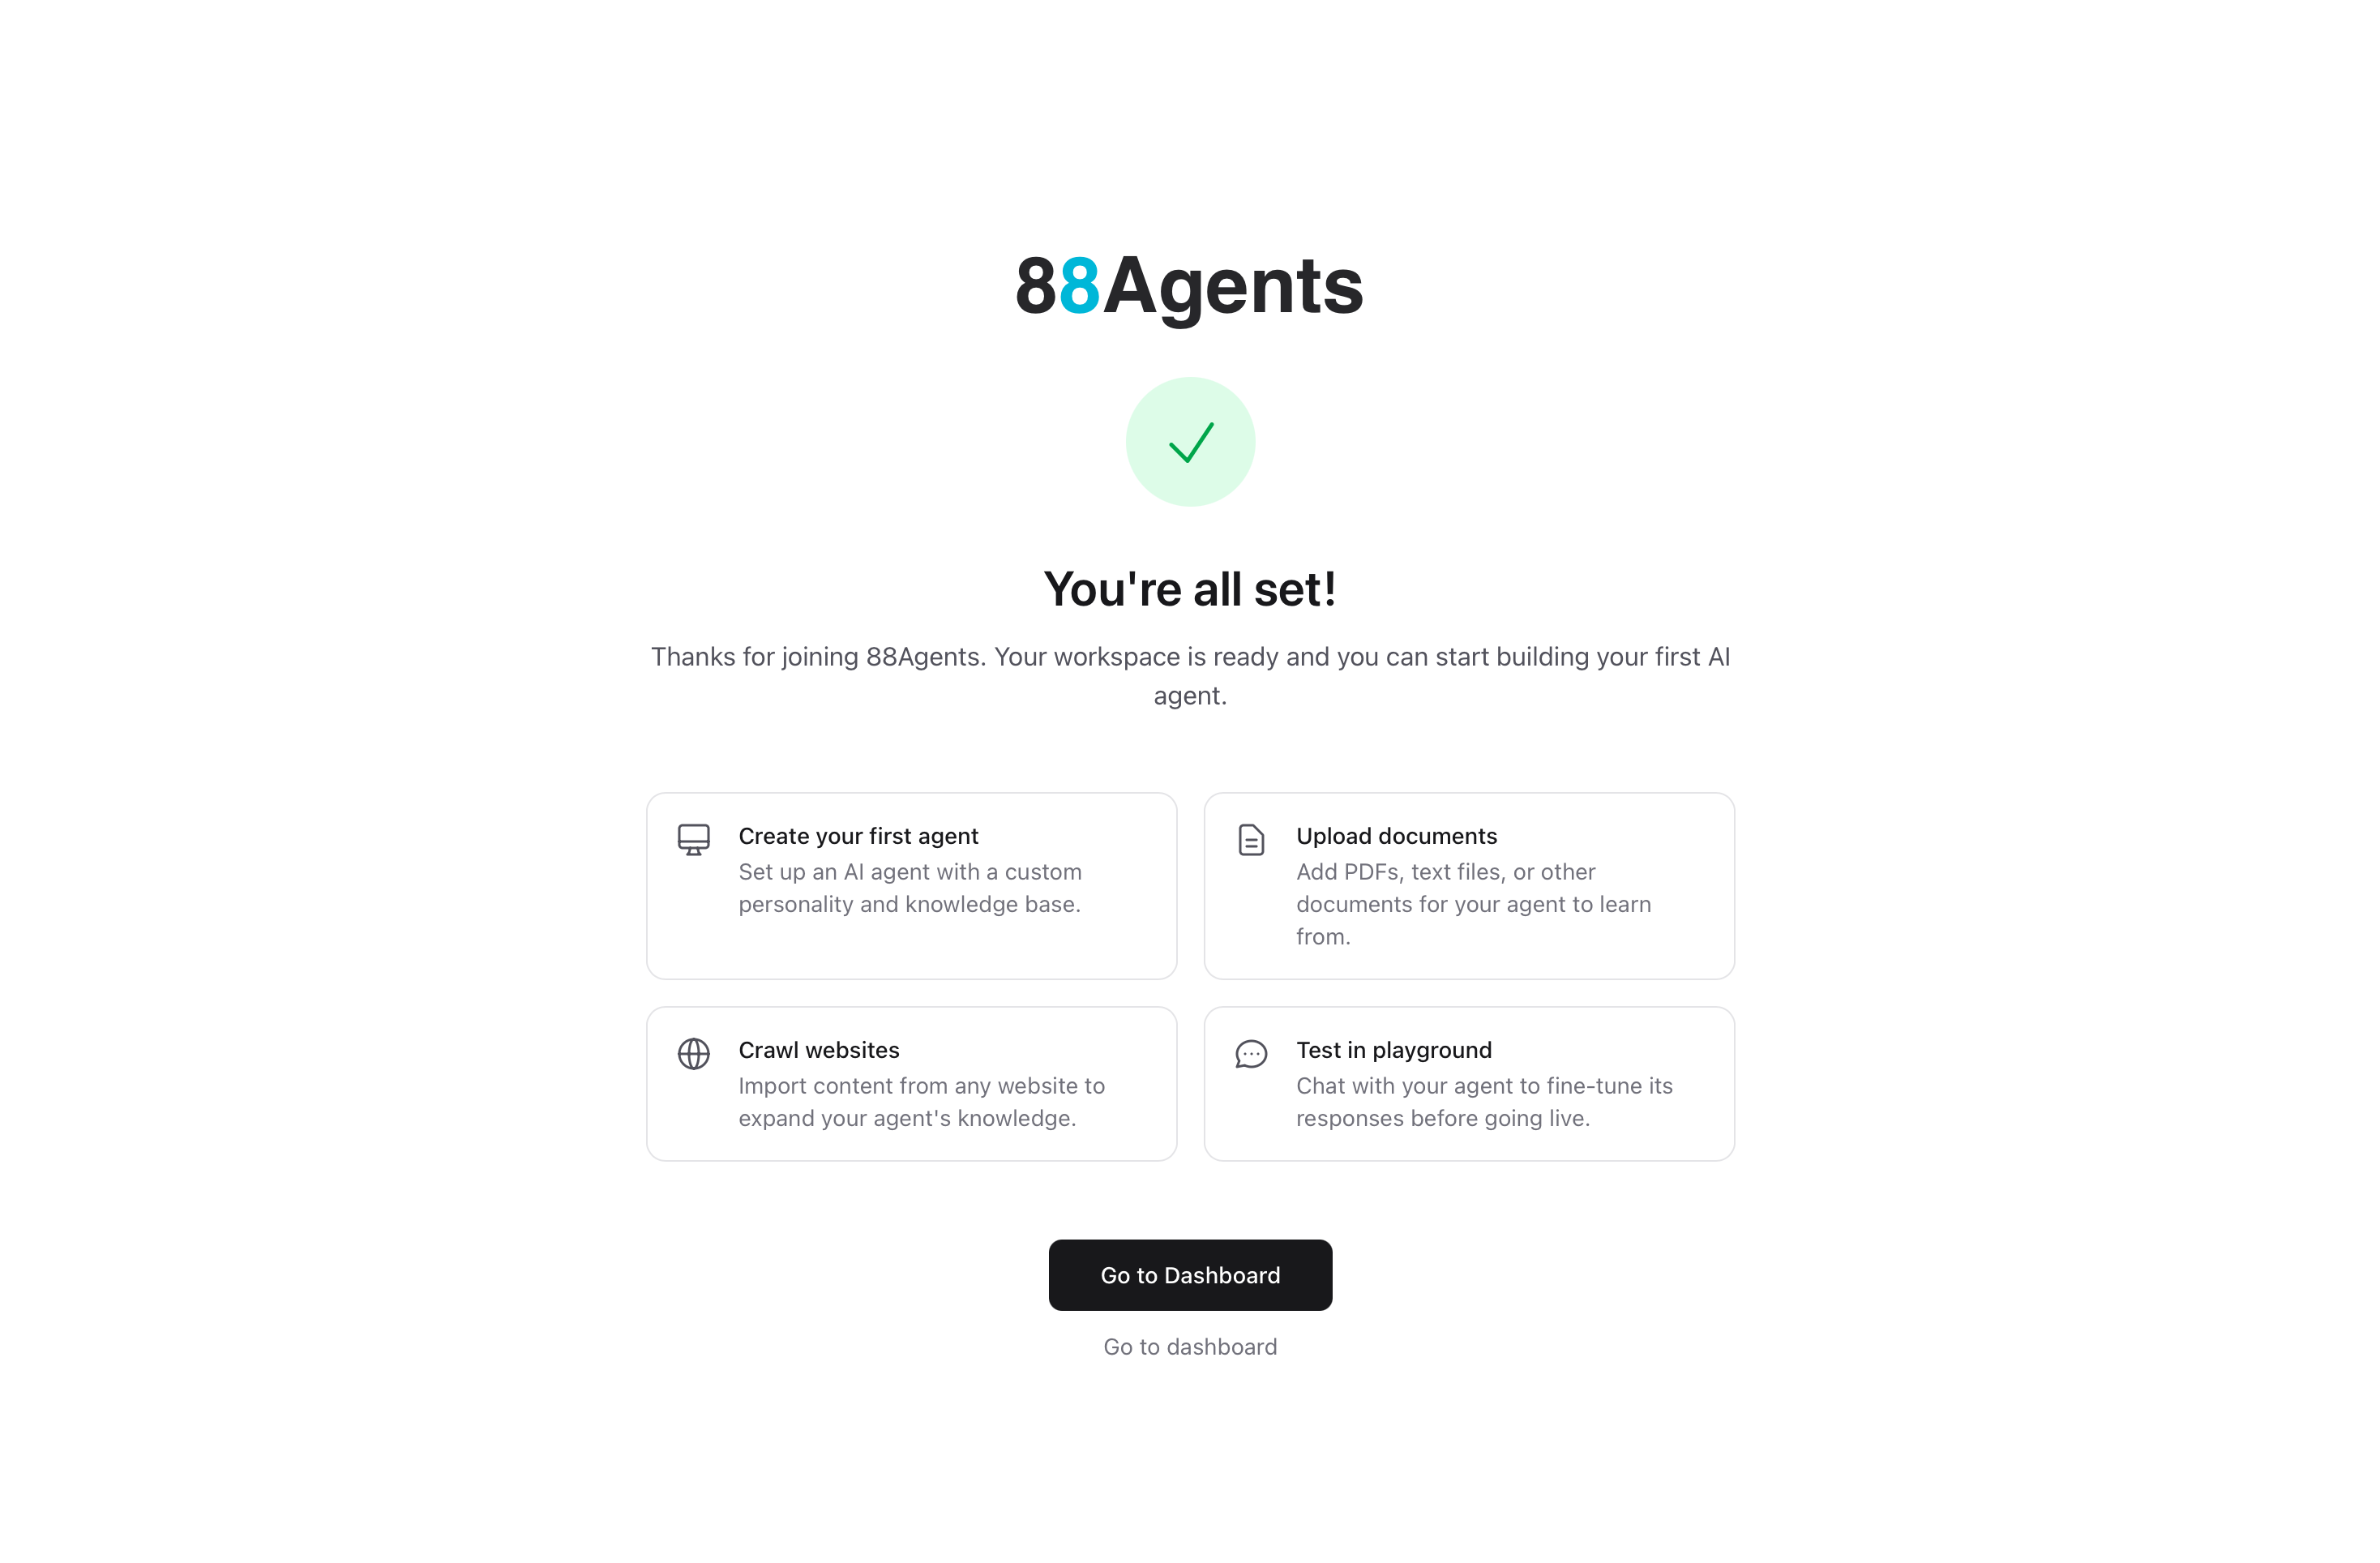
You're all set! Your workspace is ready.
The completion screen shows quick actions to help you get started:
- Create your first agent — Set up an AI agent with a custom personality and knowledge base
- Upload documents — Add PDFs, text files, or other documents for your agent to learn from
- Crawl websites — Import content from any website to expand your agent's knowledge
- Test in playground — Chat with your agent to fine-tune its responses before going live
Click Go to Dashboard to get started.
What's Next?
Congratulations! You've successfully created your 88Agents account and workspace. Here's what to explore next:
- Create Your First Agent — Build an AI agent step-by-step
- Personality & LLM Settings — Customize your agent's behavior and responses
- Knowledge Sources — Add documents, websites, and data to your agent
- Deploy to Channels — Connect your agent to web, Slack, or other platforms